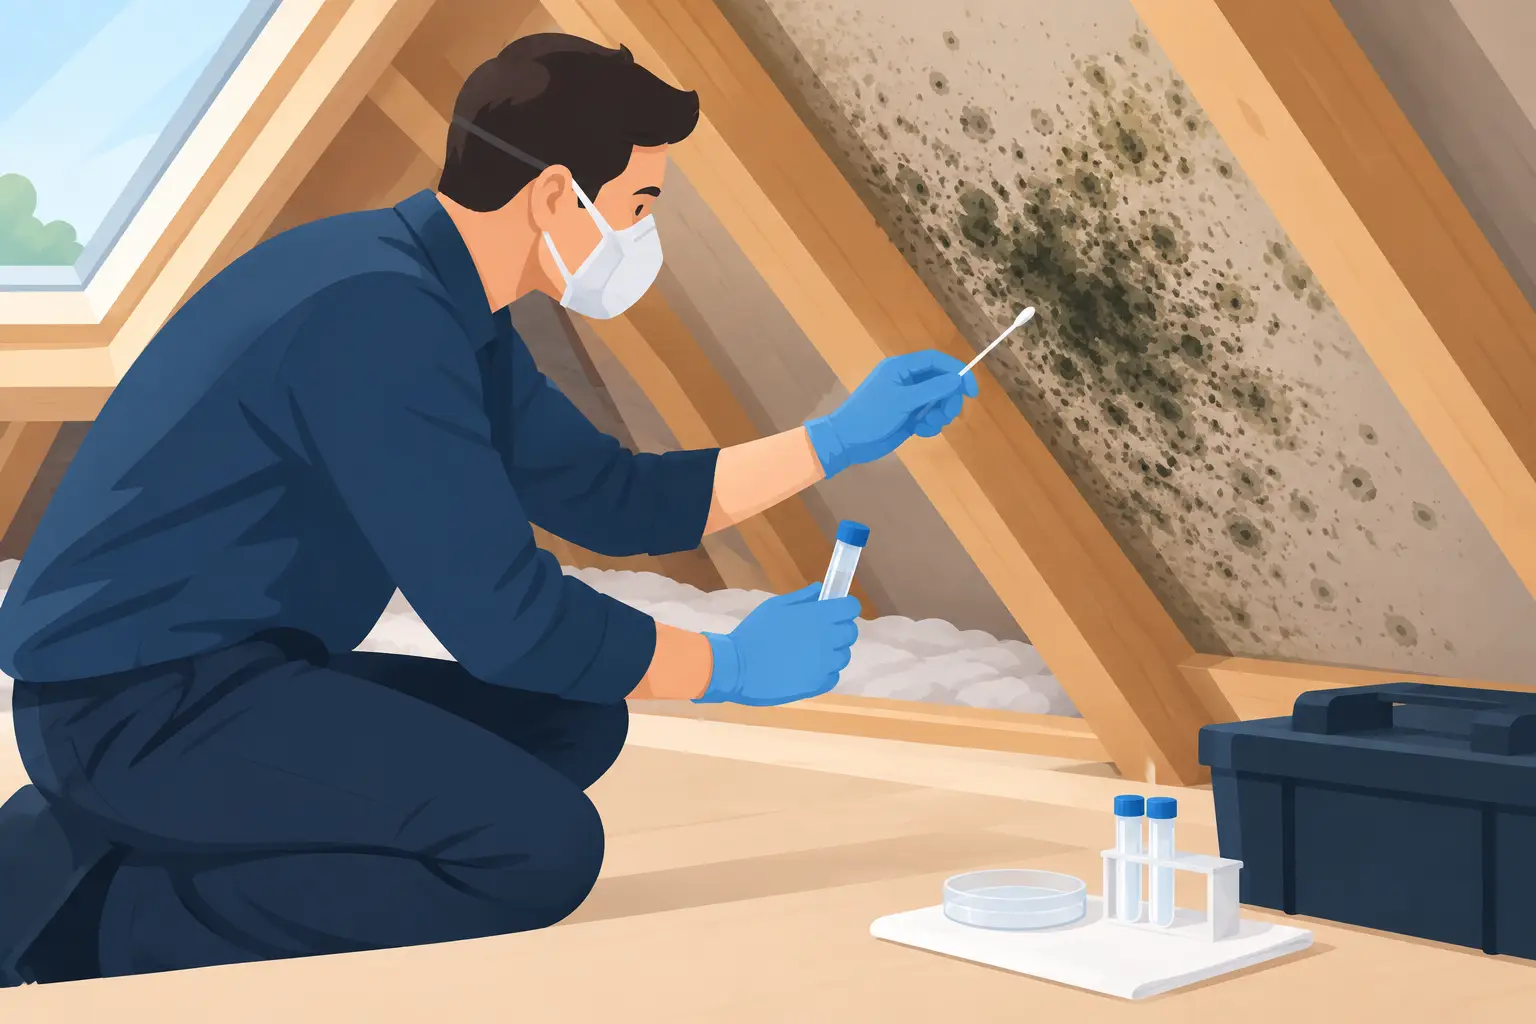
A dark mark on attic sheathing after a humid New Jersey summer may be a minor surface stain, active mold growth, or evidence of a moisture problem that has been building for years. Knowing how to test attic mold starts with recognizing that a test alone does not solve the issue. The most useful answer comes from pairing careful inspection with the right samples and a clear investigation into why the attic became damp.
For homeowners and landlords in Morris, Sussex, Warren, Somerset, and nearby counties, attic mold is often connected to roof leaks, inadequate ventilation, bathroom exhaust fans venting indoors, or warm household air escaping into a cold attic. Storm-driven rain and seasonal temperature swings can make those weaknesses more apparent. A certified mold inspection helps distinguish isolated staining from a condition that needs controlled remediation.
Start With a Safe Attic Assessment
Do not enter an attic simply to collect a sample if there is extensive visible growth, wet insulation, compromised framing, or a strong musty odor. Disturbing moldy material can release more particles into the air, and attics can present other hazards, including weak flooring, exposed wiring, nails, and extreme temperatures.
A visual assessment is the first stage of responsible testing. Look for discoloration on roof decking, rafters, trusses, insulation facing, and around penetrations for vents, pipes, chimneys, and recessed lighting. Mold may look black, gray, green, white, or brown. Color cannot identify a species or tell you whether it is toxic. It can, however, help an inspector map the affected area and identify patterns.
Pay attention to whether the material appears fuzzy, powdery, spotty, or embedded in the wood. Also note damp wood, water staining, rusted fasteners, condensation, compressed insulation, and a musty smell. These observations are valuable because mold requires moisture. If the moisture source remains, cleaning or testing without corrective work will not provide a lasting result.
If you suspect a roof leak, inspect after rainfall only when it is safe to do so. Water staining near a valley, chimney flashing, roof vent, or plumbing stack often points toward an exterior entry point. Widespread spotting across the underside of the roof deck, particularly near the eaves or ridge, may instead suggest condensation and poor attic ventilation or air sealing.
How to Test Attic Mold With Meaningful Samples
There is no single mold test that is right for every attic. Professional testing is selected based on what is visible, the extent of the moisture concern, whether occupants report odors or symptoms, and whether the results will guide a remediation plan, property transaction, or insurance discussion.
Surface sampling
Surface samples are used to document suspected growth on a specific material. An inspector may use tape lift, swab, or bulk sampling methods, depending on the surface and the question being asked. A laboratory can often identify the general type or group of mold found in the sample.
Surface sampling is helpful when a homeowner needs confirmation that a suspicious spot is mold rather than dirt, soot, paint overspray, or ordinary wood staining. It is also useful for documenting conditions before remediation. Its limitation is equally important: a sample represents only the precise place where it was taken. A negative result from one small section does not clear the rest of the attic.
Air sampling
Air samples measure mold spores and related particles present in the air at the time of testing. A qualified inspector commonly compares an attic air sample with an outdoor control sample and, when appropriate, samples from living areas below. The laboratory results are interpreted for types of spores present, concentrations, and whether the indoor profile appears unusual compared with outdoor conditions.
Air sampling can be valuable when there is a persistent odor but little visible growth, when mold may be concealed behind insulation or within a roof assembly, or when it is necessary to assess whether attic conditions may be affecting the occupied areas of the home. It is not a pass-fail health test. Mold levels naturally change with weather, season, ventilation, and activity. A professional interprets the data alongside the inspection findings rather than relying on a single number.
Bulk or material sampling
In some situations, a small piece of insulation, drywall, wood, or other material is sent to a laboratory. This may be appropriate when the material itself needs evaluation or when the extent of contamination is unclear. Because removing material can disturb the area, bulk sampling should be planned and performed carefully.
Why DIY Mold Kits Often Create More Questions
Retail mold plates and mail-in kits can show that spores can grow under favorable conditions. That result is rarely surprising. Mold spores are common in outdoor and indoor environments, especially in humid regions like New Jersey.
The problem is interpretation. A DIY kit usually cannot establish where the spores came from, whether the attic has an active moisture issue, how far growth extends, or whether the finding is different from normal outdoor conditions. It also cannot identify construction defects, such as a disconnected bath fan duct or missing soffit ventilation, that caused the issue.
A kit may lead to unnecessary alarm after a positive result, while a negative result may offer false reassurance if the sample was taken from the wrong area or at the wrong time. If visible growth is extensive or the attic smells musty, put the budget toward an inspection that can guide a corrective plan instead of relying on a consumer test.
Identify the Moisture Source Before Remediation
Attic mold testing is only one part of the investigation. The next priority is finding and correcting the moisture pathway. In local homes, the cause often falls into one of several patterns: a roof or flashing leak, wind-driven rain entering vents, condensation on cold roof sheathing, inadequate intake and exhaust ventilation, or air leaks from the living space below.
Bathroom fans deserve special attention. A fan duct that terminates in the attic deposits warm, moist air directly into a cold space. Even a duct that exits through the roof or wall can create trouble if it is disconnected, crushed, uninsulated, or leaking at a joint. Kitchen exhaust, dryer ducts, plumbing stacks, and recessed lights can also contribute to elevated attic moisture.
An experienced inspector evaluates these details along with insulation coverage, vapor control, roof conditions, and attic airflow. The correct fix depends on the house. Adding roof vents without addressing air leaks from the home, for example, may not resolve condensation. Sealing an attic too tightly without a ventilation plan can create a different moisture problem.
Know When Professional Testing Is the Right Call
Professional inspection and testing are strongly recommended when visible attic growth covers more than a small, isolated area; moisture has affected insulation or structural wood; a leak followed a storm; there is a recurring musty odor; or occupants notice concerns that seem worse at home. Testing also makes sense before a home sale, after a prior remediation, or when a landlord needs clear documentation of the condition and next steps.
A certified professional can use moisture meters and other diagnostic tools, collect defensible samples when appropriate, and provide a written explanation of what was observed. That report should connect the findings to likely moisture sources and outline whether remediation, repairs, further investigation, or clearance testing is appropriate.
For substantial contamination, the work should be contained and performed using proper personal protection and cleaning methods. Simply spraying a product over stained wood or painting over the area is not remediation. Those approaches can leave the underlying moisture problem and contaminated material in place.
What to Do While You Wait for an Inspection
Avoid disturbing visible growth or moving contaminated insulation through the living areas. If there is an active roof leak, arrange for temporary protection or repair as soon as possible, and document the damage with photos. Keep bathroom fans running during and after showers, but do not assume that will correct an attic ventilation defect.
If safe access is available, you can take clear photos from the attic entry point and note where staining appears in relation to roof features or vents. Do not scrape, sand, bleach, or fog the area before an inspection. Those actions can alter evidence, spread contamination, and make an accurate assessment harder.
Your attic is not supposed to be a source of dampness, odor, or hidden damage. Prompt, properly interpreted testing gives you a practical path forward: identify the moisture, correct the building condition, and address mold growth in a manner that protects the home and the people living in it.
Leave a Reply